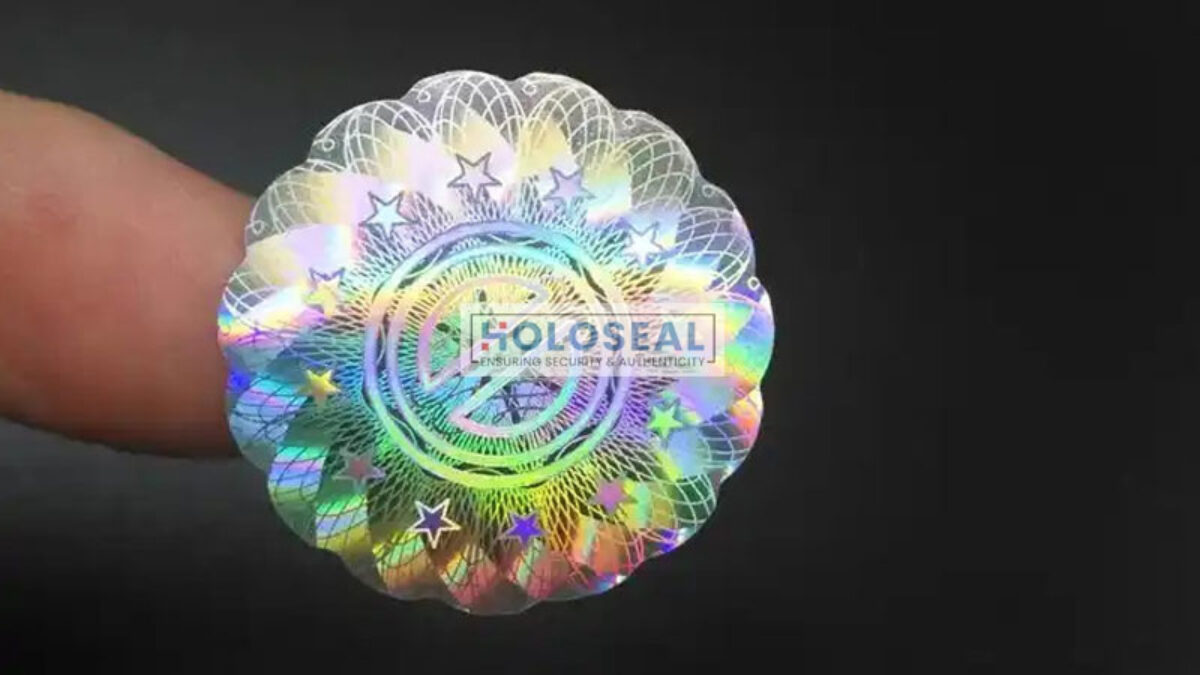
Hologram stickers have gained popularity as a means of verifying the legitimacy of goods and documents in a society where fraud and counterfeiting are major issues. In addition to being aesthetically pleasing, these captivating, three-dimensional visuals also act as a strong disincentive to tampering and falsification. If done correctly, placing holographic stickers may be a simple process for both individuals and company owners seeking to safeguard their products or add flare to personal things. We’ll take you through the easy procedure of putting holographic stickers step-by-step in this tutorial.
Step 1: Assemble Your Supplies
Make sure you have all the required materials on hand before beginning the application process. What you’ll need is as follows:
holographic Stickers: Get holographic stickers from a reputable provider that are of excellent quality. Make sure the stickers are appropriate for the surface you plan to use them on.
Using a clean cloth, gently wipe the area where the holographic sticker is to be placed. A smooth application is guaranteed when dust, debris, and any residue are removed.
Rubbing Alcohol or Cleaning Solution: To thoroughly clean the surface and get rid of any oils or grease that might prevent adhesion, use a light cleaning solution.
Tweezers: If the holographic sticker is small or complex, they might be useful for placing it precisely.
Step 2: Get the Surface Ready
The holographic sticker must be properly prepared on the surface in order for it to attach firmly. Take these actions:
Clean the Surface: Give the surface a good wipe down with a clean cloth and the cleaning solution. Let it air dry thoroughly before moving on.
Eliminate Any Residue: Use a soft scraping motion to remove any stickers or adhesive residue that may have remained on the surface. To prevent breaking the material, you can use a plastic scraper or your fingernail.
Step 3: Peel the backing
Gently remove the hologram sticker’s backing. Handle the sticker with dry, clean hands to avoid allowing dust or fingerprints to contaminate the adhesive.
Step 4: Put the Sticker in Place
Position the holographic sticker on the cleaned surface using tweezers or your fingertips. Take your time to get it exactly where you want it. After you’re happy with where it is, softly push in the middle and smooth to the edges.
Step 5: Put Pressure on It
Firmly push down on the holographic sticker’s full surface to guarantee good adherence. To remove any air bubbles and ensure the sticker is firmly in place, you can use a credit card or the edge of a clean towel.
Step 6: Examine and Seal
Examine the holographic sticker to make sure it is wrinkle- and bubble-free and adhered firmly. You may carefully raise and adjust the edge if needed. After you’re pleased, think about covering the sticker with a clear sealer to give it more defense against deterioration.
Congratulations! You’ve successfully applied a hologram sticker with precision and ease. Hologram stickers are a practical and eye-catching option for protecting your goods or giving personal objects a little of credibility. For the best outcomes and enduring adhesion, don’t forget to carefully follow these instructions.


